
Safe lock help · AMSEC
Safe lock troubleshooting › AMSEC › ESL15 (multi-user, time delay, dual control)
The AMSEC ESL15 looks like the ESL10: a round keypad marked ESL15 with keys 1 to 9, C, 0 and #. The difference is what is inside. It has a master user, up to eight more users, an armored car user, time delay, dual control and a duress option for commercial and cash safes. This guide covers how to open it, change the combination, set up users, replace the batteries and what the beeps mean.
- How to open
- Battery
- Change code and users
- Beeps
- Lockout
- Users and advanced features (master user only)
- Time delay
- Dual control and armored car bypass
- Troubleshooting
- Manuals
Want the whole manual? Jump to the manufacturer download links.
Is this your lock?
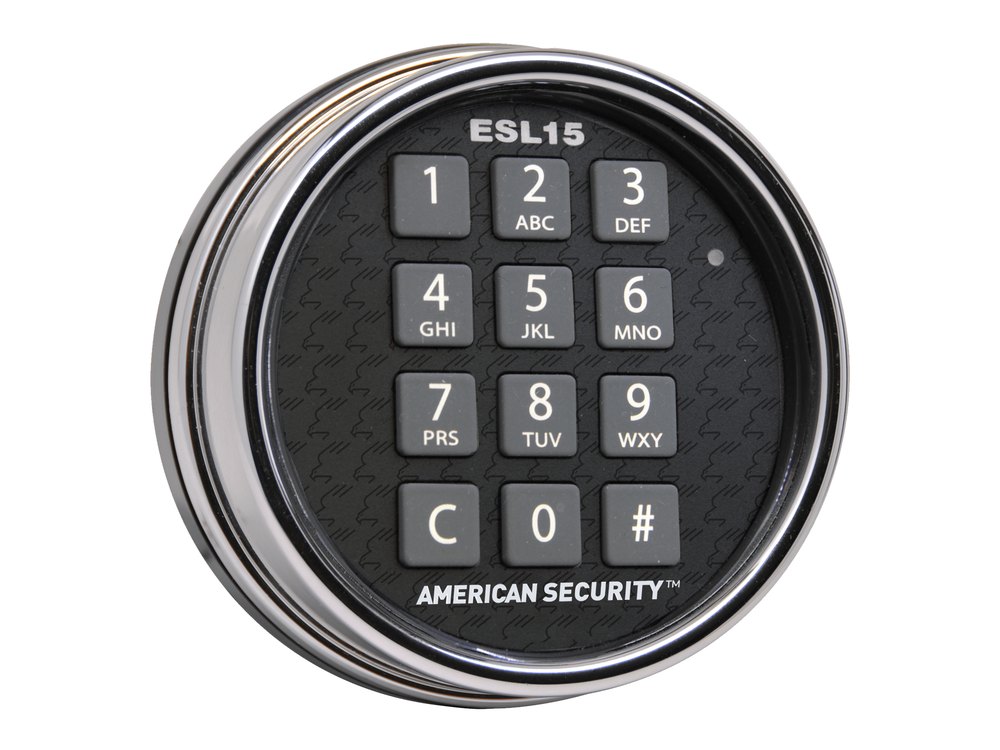
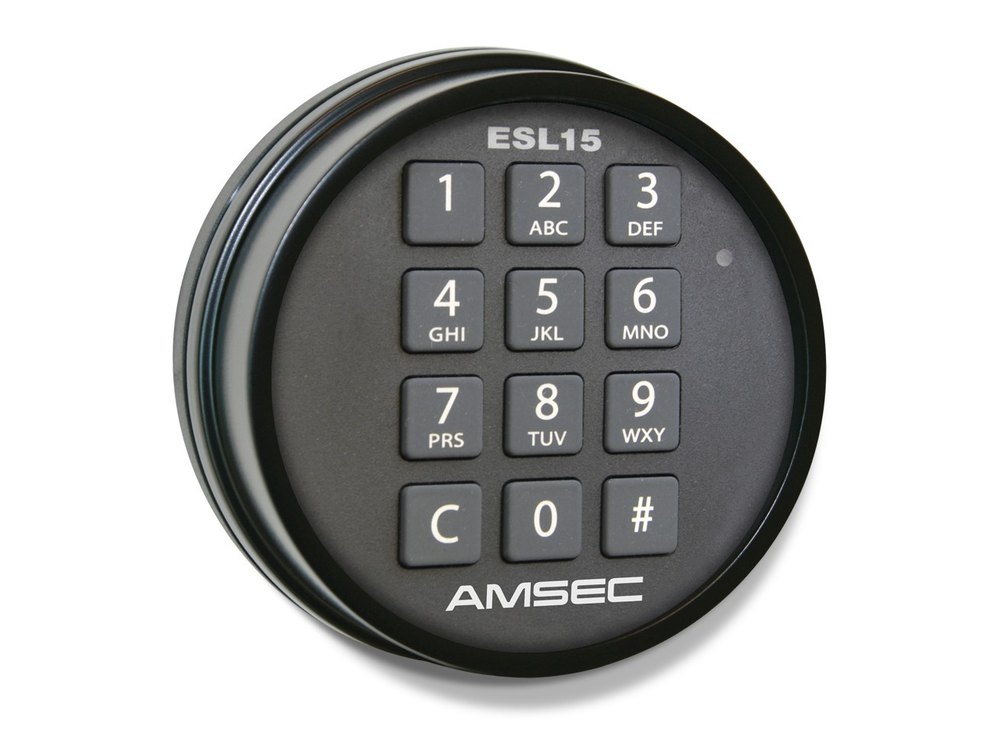
- A round electronic keypad marked ESL15 with keys 1 to 9, C, 0 and #, and a red light.
- It uses a fixed 6-digit combination and two 9-volt alkaline batteries.
- The master user is user 0. Subordinate users are numbered 1 to 8, and the armored car user is 9.
- The manual is AMSEC’s ESL15 operating instructions (Revision A, August 9, 2018).
How to open it
- Make sure the safe handle is centered in the locked position so the lock can open freely.
- Press C.
- Key in your 6-digit combination.
- Press #.
- If the combination was right, the lock opens for 3 seconds. Turn the handle to the unlocked position and pull the door open during that time.
- Made a mistake? Press C to clear the previous input and start again. If no key is pressed for 10 seconds, the lock goes back to rest.
- The lock keeps the first 5 digits and then only the last number you press as the 6th digit. So you can press the first 5 digits, some extra numbers, then the correct sixth digit and # to baffle an onlooker.
- Use only your fingers. Sharp objects damage the keypad and are not covered by the warranty.
- If time delay or dual control is turned on, a valid code starts the delay or asks for a second code first. See below.
How to change the battery
The ESL15 uses two 9-volt alkaline batteries. AMSEC says to use fresh, name-brand alkaline batteries (we recommend Procell) and to replace them once a year. The lock needs a quick burst of current for its solenoid, so batteries that look fine can still fail. The manual gives a low battery warning (a 3-second warble and flashing LED after a normal opening, and the lock will not open soon), but its troubleshooting page also says the ESL15 has no low battery indication, so do not rely on it. Change the batteries every year.
- Grip the keypad and rotate it about 1/8 turn counter-clockwise to release it from the base.
- Carefully pull the keypad away from the base. Do not let it hang on the cable to the lock.
- Lift the two 9-volt batteries out of their pockets.
- Carefully remove the battery clip from the end of each battery. Do not pull on the wires.
- Snap on two new 9-volt batteries, tight, with no loose contacts.
- Press the batteries back into their pockets, with the wires routed so they are not pinched.
- Put the keypad back on the base starting at the top (about the 11 o’clock position), press down so the three tabs seat, then rotate clockwise to level. It snaps into place.
- Do the change with the safe door open and test your combination afterward.
How to change the combination
Do this with the safe door OPEN.
Changing a combination with the door closed risks locking yourself out. Test the new code several times before you close and lock the safe. Change the factory combination as soon as the safe is installed.
Master user combination
- Press C.
- Press #. You hear a short warbling tone and the red LED flashes.
- Key in your old 6-digit combination, then press #. A short good combination tone.
- Key in your new 6-digit combination, then press #. Another short good tone.
- Key in the new combination again, then press #. A long good combination tone means it is recorded.
- Test it several times before you close and lock the safe.
A subordinate user (users 1 to 8) with the user’s own code
- Press C, #, the user number, #, the old user code, #, the new user code, #, the new user code again, #.
- This works only if the master user has allowed users to change their own combination (function 60).
Setting up a new user or changing a user without the old code
- Press C, #, the user number, #, the master code, #, the new user code, #, the new user code again, #.
- The master combination can also be changed with the short form: C, #, old master code, #, new master code, #, new master code, #.
- If you make a mistake at any point, the lock gives the bad combo tone (4 short beeps) and returns to rest. The old combination is kept.
Beeps and lights
A warble is a high-low-high-low run of tones.
| What you hear / see | What it means |
|---|---|
| 1 beep and 1 red flash | Any key press during input. Also tells you the lock has left penalty lockout. |
| 4 beeps | A wrong code. After four wrong codes the lock starts a 15-minute lockout. |
| 4 beeps, repeating (and flashes every 5 seconds) | The open period after a time delay: enter a valid code now. |
| 6 beeps | The lock is in penalty lockout and will not take input. |
| Short warble (about 2.5 seconds) | An entry was accepted during a combination change or function setting. |
| Long warble (about 10 seconds) | The change or setting is complete. It also marks the end of a time delay period. |
| LED flashes about 2 times a second | A time delay is counting. |
| LED once every 5 seconds | Penalty lockout. |
| LED solid for 3 seconds | The lock is activated after a good code. |
Wrong-code lockout
After 4 incorrect combinations the lock goes into a 15-minute penalty lockout. The red LED flashes once every 5 seconds, and any key press gives a flash and 8 rapid chirps. Removing power does not reset the lockout, so pulling the batteries will not help. Wait it out.
Users and advanced features (master user only)
Only the master user can turn the advanced features on and off. Each feature has a 2-digit function code. A function is set with this pattern: C, #, the function code, #, the master code, #, the setting (1 to turn it on, 0 to turn it off, or a number), #. Each # gives a short warble, and the last one gives a long warble to show it worked.
- 01 turns time delay on or off. 02 sets the delay period (1 to 99 minutes). 03 sets the open period (1 to 9 minutes).
- 10 turns multi-user mode on or off. 11 adds or enables a user (1 to 8). 12 disables a user. 13 disables all users. A disabled user’s code is kept, so you can turn the user back on.
- 30 turns dual combo mode on or off. 31 controls whether two subordinate users may open it together in dual control (the manual says that when this is switched on, the manager must be one of the two users).
- 40 turns the armored car time delay bypass on or off (user 9). 41 lets subordinate users authorize the bypass.
- 60 lets subordinate users change their own combination.
- The manual has a record sheet for these settings. Write down what you set and keep it out of the safe.
- Function 99 resets all functions and deletes all users and their codes. We are not printing the steps here: call us if you need it.
Time delay
Time delay makes the user wait a set time before the safe can open. It is a robbery deterrent.
- Turn on time delay (function 01) and set the delay (function 02, 1 to 99 minutes) and open period (function 03, 1 to 9 minutes).
- A user keys a valid combination. The LED flashes about twice a second during the delay.
- At the end, a long warble sounds and the open period starts, with 4 beeps and a flash every 5 seconds.
- During the open period, key a valid combination again to open the lock.
- You can cancel a time delay while it is running by pressing C, then any number key, then #.
Dual control and armored car bypass
Dual control needs two different users to key their combinations, one after the other, before the lock opens. After the first valid code a short warble sounds, and the second user has 10 seconds to start entering a code or the lock goes back to rest.
The armored car user (user 9) can bypass the time delay when that feature is on. A valid local user is still needed to open the safe.
- A duress alarm option needs one of AMSEC’s expansion modules (ESL20EXP1, ESL20EXP2 or ESL20EXP3) to connect to an alarm. It is signaled by ending a code with the last digit one higher or one lower.
If it still won’t open
Weak or dead batteries
This is the most common problem. Symptoms: no keypad response, or no click from the bolt after you key the combination. Replace both 9-volt batteries with fresh name-brand alkaline ones.
If it still does not respond, press C first, make sure the cable is firmly seated in the keypad socket (the locking tab should hold it), and make sure the battery clips are tight on the posts.
Bolt binding: the lock clicks but the bolt will not retract
The safe’s boltwork can press on the lock’s bolt so the solenoid cannot move it. Find a handle position that takes the pressure off:
- If the handle turns clockwise to open, turn it all the way counter-clockwise before you key the code.
- If it turns counter-clockwise to open, turn it all the way clockwise first.
- Not sure? Move the handle to both stops and set it in the middle of that range.
It only works for a while after new batteries
That points to bolt binding in the boltwork: fresh batteries just overpower it for a while. This needs a service visit. Call us.
Download the full manufacturer instructions
This page is a quick-reference summary. For every feature and diagram, use the official manual for your model:
- AMSEC ESL15 Operating Instructions (PDF)Revision A, released August 9, 2018. Hosted by AMSEC.
- AMSEC knowledge base: changing the ESL15 master user combinationAMSEC support article.
Need a hand?
Still stuck? We can help.
Having a hard time getting into your safe? Our technicians are trained to open malfunctioning safes professionally, so your valuables can still be safely secured. Call us or stop by.
Steve’s Lock, Safe and Alarm · 3401 N. Sepulveda Blvd, Manhattan Beach, CA 90266
More lock guides
About this guide. This is an independent guide from Steve’s Lock, Safe and Alarm, a safe and lock dealer. Brand and model names belong to their owners and are used only to help you identify your lock. We are not affiliated with the manufacturers. These steps summarize the manufacturers’ own instructions; your lock may be a different version, so if anything here does not match what your lock does, follow your manual or call us. Always change codes with the safe door open, and test the new code several times before you close the door.
Steps last checked against the manufacturer documents on October 19, 2026.